Good morning, Maja Friends, welcome to the blog today 🙂
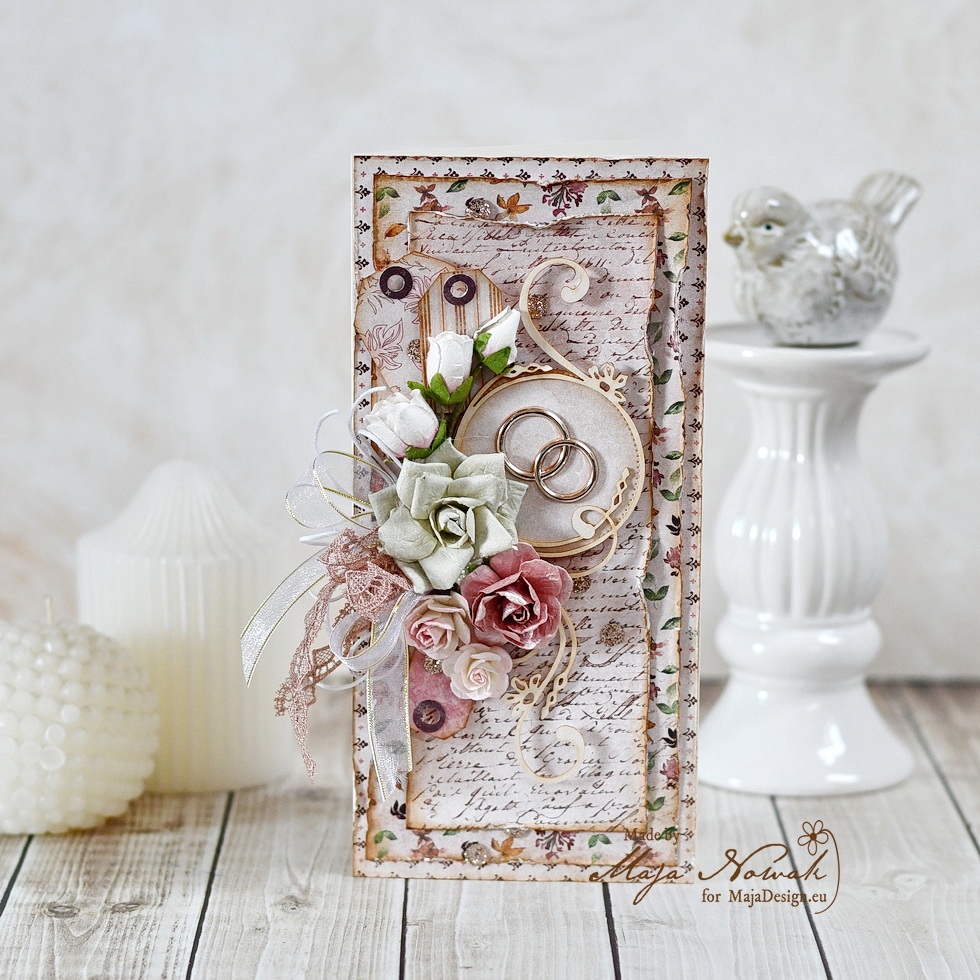
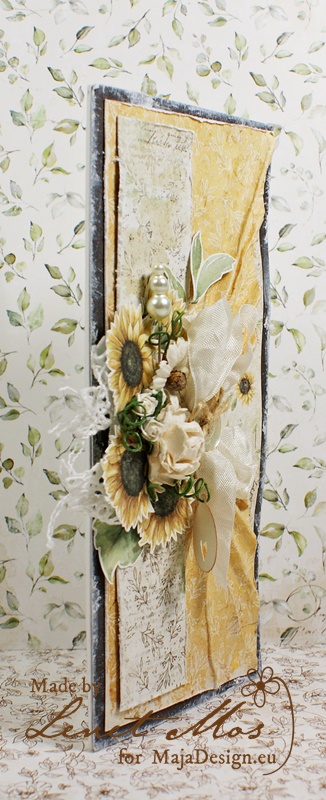
Before I get into the Christmas mood with the latest Christmas Wonderland collection, let me share one more purely autumn project 🙂 Here’s the card I made with the absolutely beautiful Autumn Poem collection:
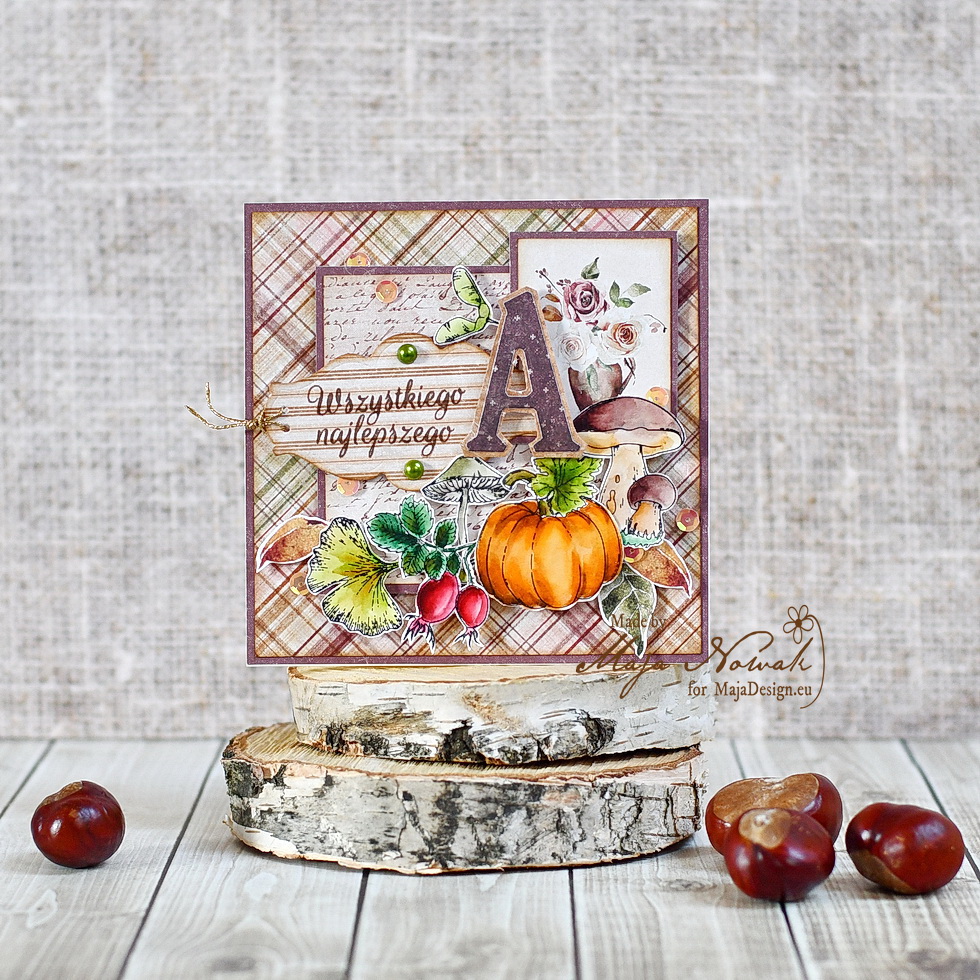
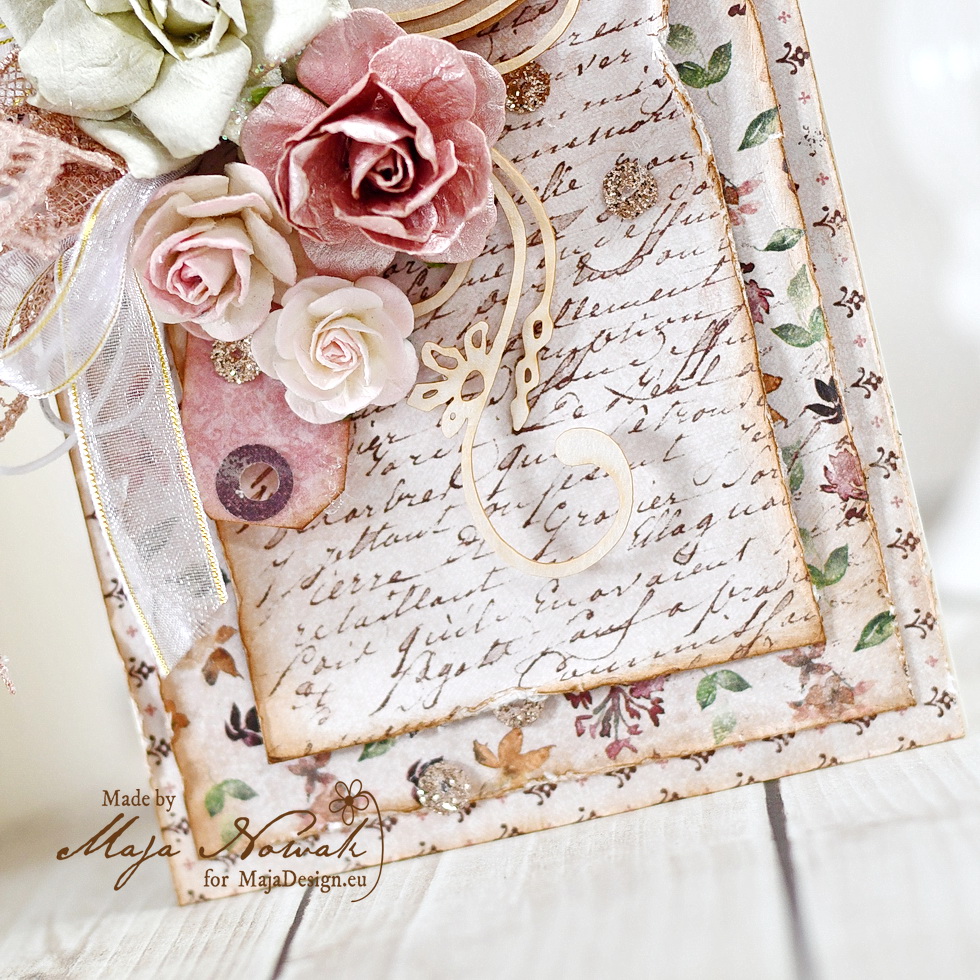
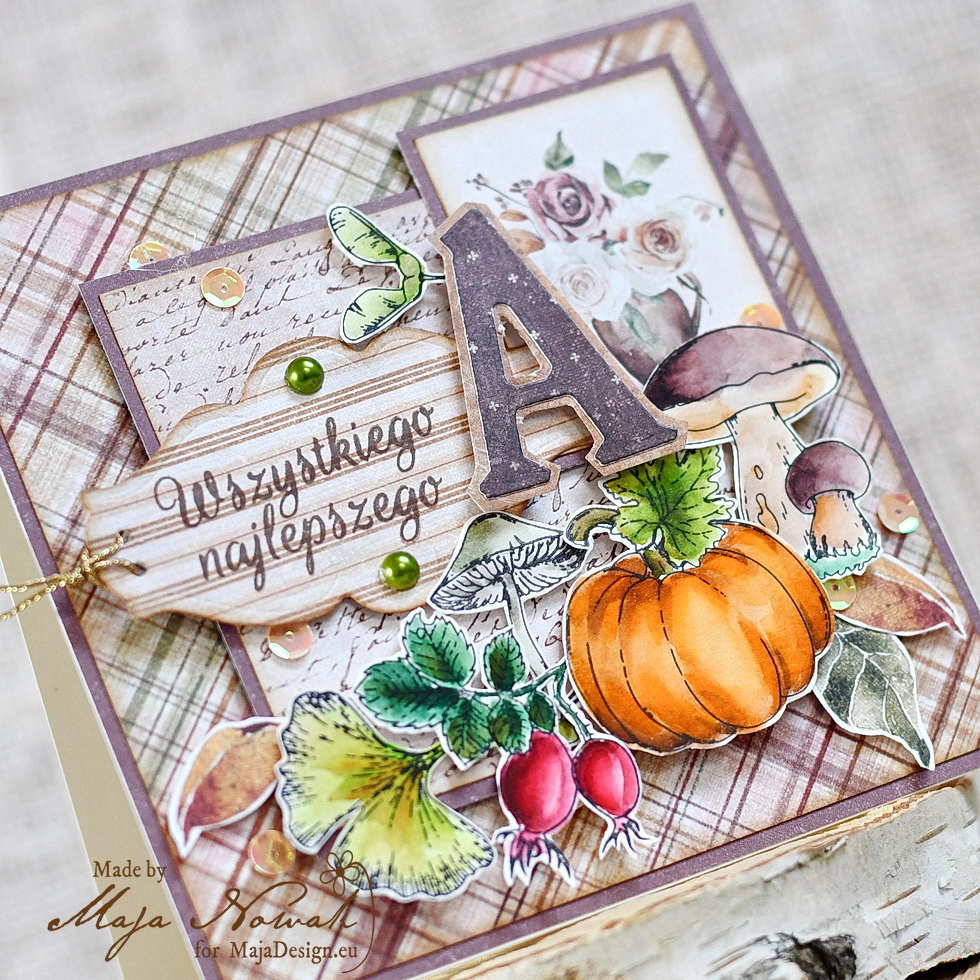
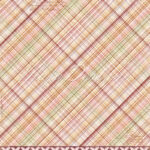
There are so many great patterns in this set that I really couldn’t make up my mind! Finally I chose the plaid paper that showcases all the colours of the palette and the handwriting paper for the background. Then I added a sentiment stamped upon striped paper:
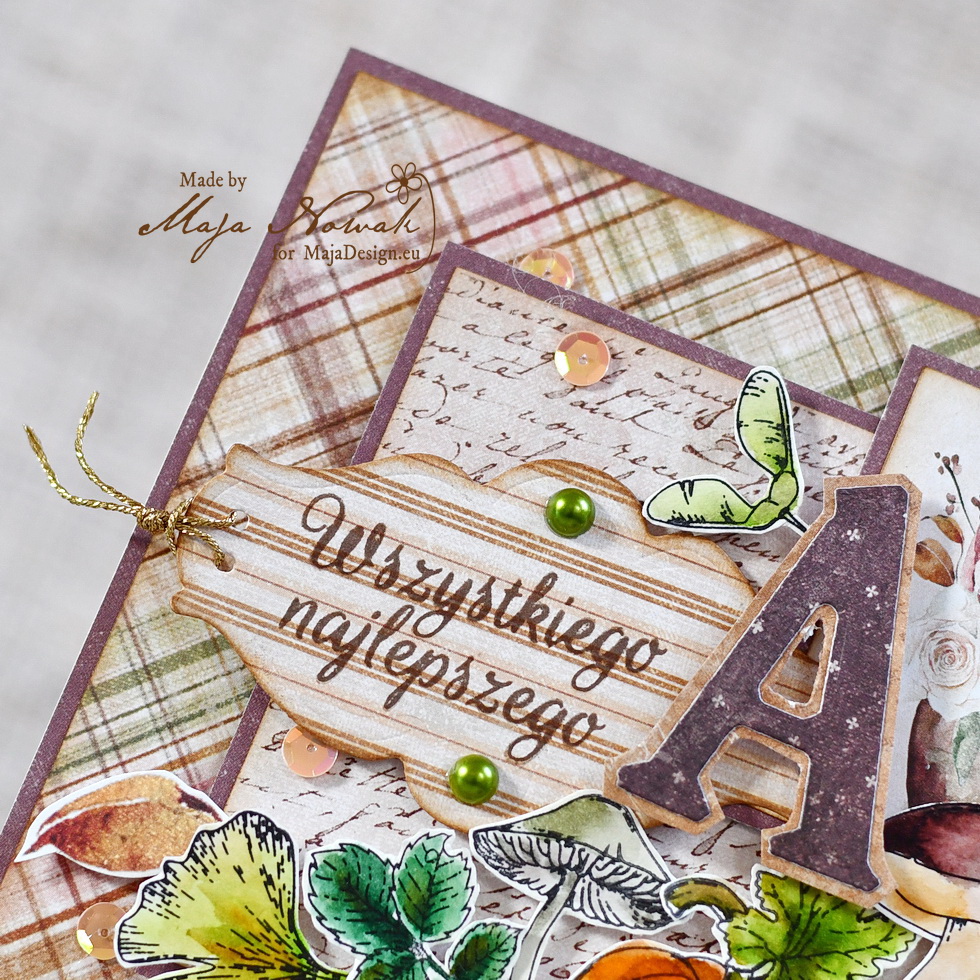
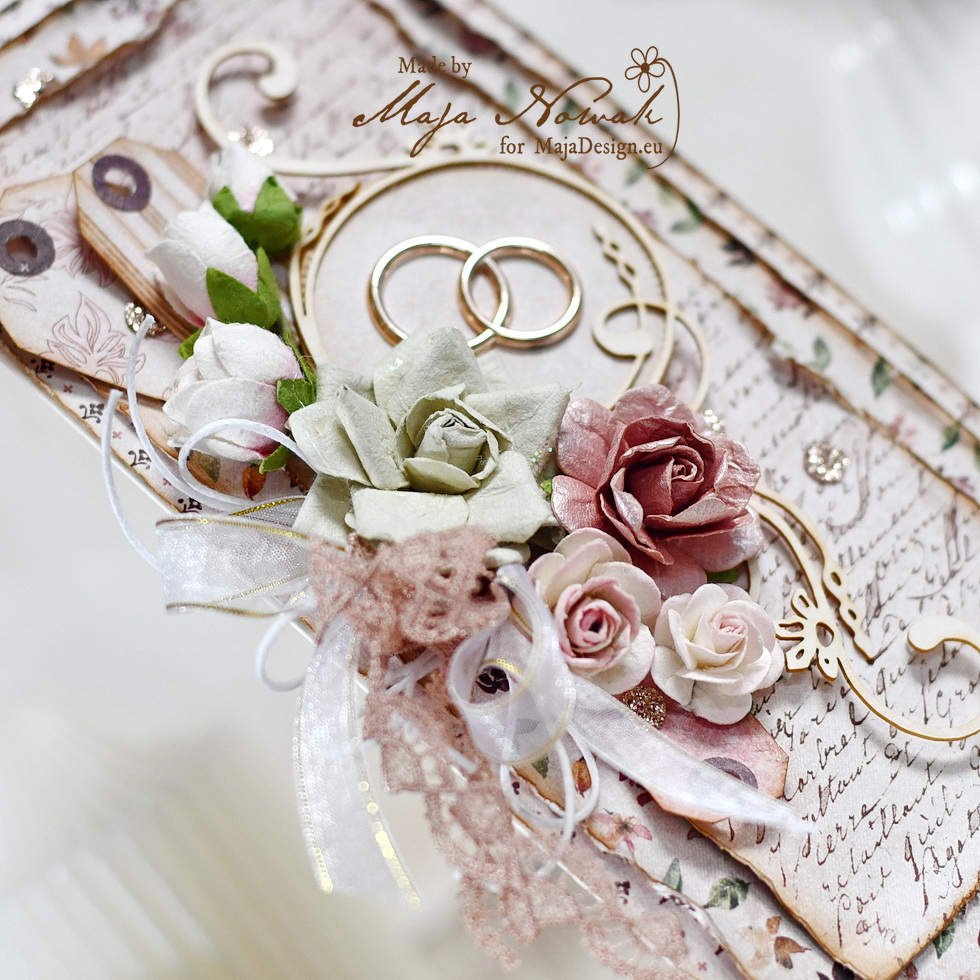
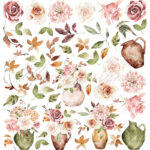
I put in an initial so that the card can be given to a person whose name begins with “A” (fun fact: number one female name in Poland is “Anne” – more than a million 🙂 What’s number one in your country?). Under the letter I placed a beautiful autumn bouquet image from the small pad of papers:
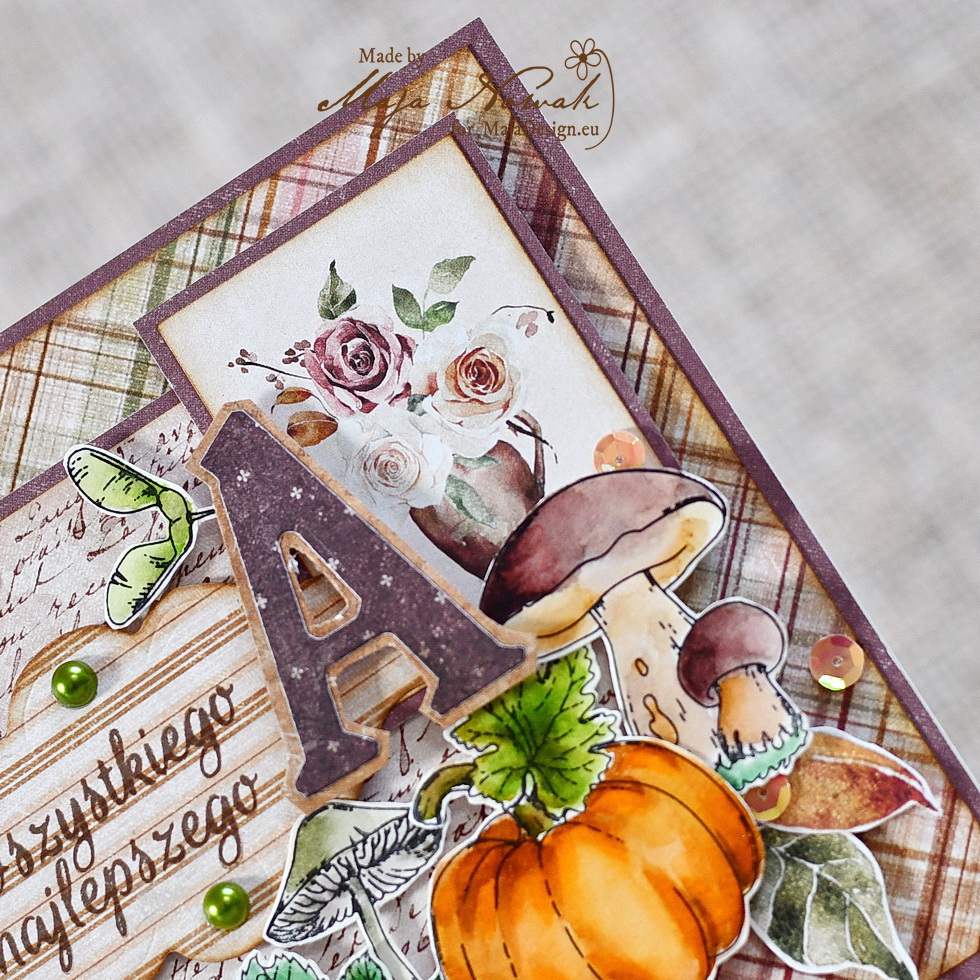
I decorated the card with stamped and hand-coloured images of autumn fruit and leaves and completed the cluster with leaves cut out from the back side of the large pad cover. To finish the card off I added pearls and sequins:

I’m really glad with the way the card turned out: filled with the colours of autumn, heartwarming and cozy 🙂 Also, despite many layers, the card easily goes into an envelope!
And here’s the list of the products I used:
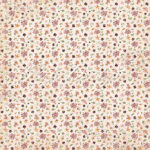
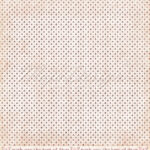
Maja Design papers:
-
- Gossamer-bs
-

- Lyrical-bs
-
- Back of the cover
-

- Shades of Autumn-Mulberry
-
- Ambivalence
Other: stamps: Agateria; die: Magnolia; sequins, pearls: my stash.
That’s all for today, thank you for visiting and see you soon!